If you have to support a Salesforce org, you will undoubtedly be faced with this question eventually. Why can’t a Salesforce user delete a certain record?
Most people will understandably think of permissions. These are not the only things to consider. There is also Record Sharing. If you want to learn more about that, I suggest you check out this post about Record Sharing.
Salesforce security is multi-layered and rarely enforced by only one of those levels. They work together to restrict and then open up access. You might want to check out the Salesforce Certified Sharing and Visibility Designer Skill Path on Pluralsight that covers all the layers.
Now, back to how to determine user record access. A simple SOQL query can tell you the answer. You can run this query in VS Code’s SOQL Builder or the Query Editor in Developer Console.
SELECT RecordId, HasEditAccess, HasDeleteAccess FROM UserRecordAccess
WHERE UserId = [18 digit User ID]
AND RecordId = [Record ID user trying to delete]
This query will tell you right away whether a user can edit and/or delete a certain record. NOTE: Edit and Delete access are not the same thing. As far as how to get the Id’s and run the query, use the following three steps.
Step 1: Get the UserId
To get the UserID, just go to Setup and Users. Click on the User record you are interested in. Select a portion of the ID that happens right after the address=%2F portion of the URL. It should start with 005. This is the UserID you can use in the query.
Step 2: Get the RecordId
The next thing you need is the RecordId, which in this case is for a Contact record. We can do that by accessing the Contact record in Salesforce and then selecting the portion of the ID in the URL that starts with 003. Go here to learn more about locating ID’s in the URL for Salesforce.
Step 3: Run the Query
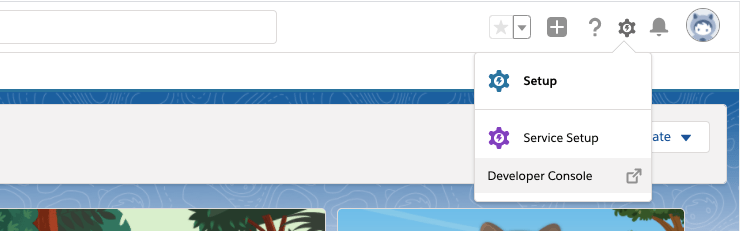
You can access Developer Console by clicking the Gear icon in Salesforce and clicking Developer Console. This brings up a new window. From the Query tab, you can type in your query using the ID’s gathered in the first two steps. Click Execute to run the query.
This is what the final query will look like, which returns false for both edit and delete access.
SELECT RecordId, HasEditAccess, HasDeleteAccess FROM UserRecordAccess
WHERE UserId = '005d0000002rqaS'
AND RecordId = '003d000002ScEwPAAV'
Since this user is not the record owner, by default Salesforce does not allow other users to access the record.
Hope this Tip helps you. If you like this and want to learn more about Record Access in particular, check out this course about Record Sharing.
As a former member of the Trailhead team, I am hesitant to write this, but I think it is an important thing for people to be aware of. If you have been using Trailhead for longer than a year, then you need to be aware of these pretty serious limitations.
While you can retake challenges for badges and projects, you cannot do so for Superbadges. More importantly, once you complete a badge, you have no way of knowing that the content for that badge may have been significantly updated. As in, all the content you understood when you completed the badge, is no longer relevant.
As I am sure you are aware, Salesforce does major releases three times a year. When they do, they prepare comprehensive release notes and the Trailhead authors are instructed to review these notes and update their content as necessary. That part is great. What is not great is that you as a consumer of Trailhead content have no way of knowing that the content was updated (without revisiting EVERY badge you have earned to examine the content).
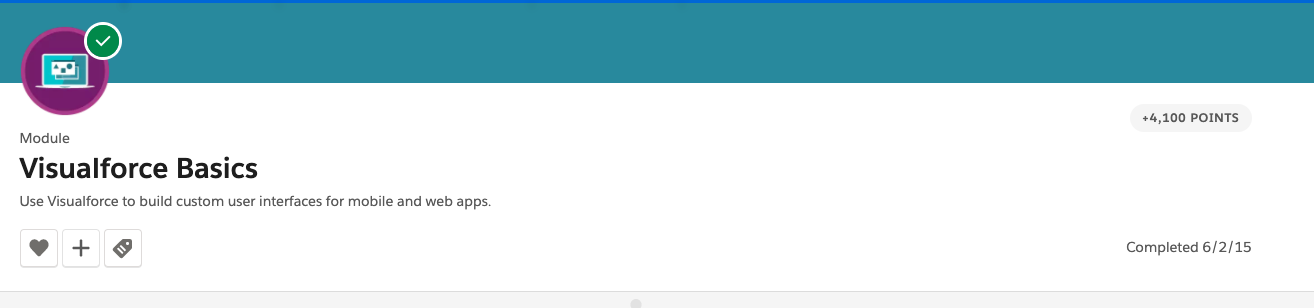
The badge itself just indicates that it was completed on a certain date. As in the image below of a badge I completed in 2015. This badge has since been significantly updated and the content that was once relevant when I completed the badge is VERY different.
Trailhead badge completed in 2015 that now has VERY different content
How do you know that you are aware of the latest features and updates to the platform? Well, it is up to you to pick through the release notes and then cross reference any Trailhead content that you may have completed. Nice, right?
Just wanted to make sure everyone was aware of this (what I consider to be) serious limitation. I hope the team is actively addressing it. I would say I know, but they don’t talk to me since I left the team.
This will be the first of a series of posts I will be doing over the next few weeks. They will all lead up to the introduction of my new course titled, “Customizing Salesforce with Lightning Aura Components” from Pluralsight. This course is a total re-write of my most popular course (so far), “Customizing Salesforce with Lightning Components: Getting Started“, which was released back in 2017. It will focus on using the new modern toolset that Salesforce offers as part of Salesforce DX.
Understanding the Lightning Component Framework
Lightning components (now called Aura components) were introduced in 2014. At that time, the web standards that existed offered only a limited amount of what developers needed and that is why Salesforce built them on top of the Aura Framework. It was basically, to compensate for what the standards lacked.
Flash forward to 2019 and a LOT has changed in the web development world. That is why in 2019, Salesforce announced the release of Lightning Web Components (LWC’s). It was also at that time that the original Lightning Components were renamed to Aura Components. They co-exist and are completely interoperable with LWC’s.
Who Should be Building Aura Components?
It probably will not surprise you to know that Salesforce developers are perfect for this, but what you might not realize is that so are junior Salesforce developers.
Senior or Junior Salesforce Developers
Another group you may not think of is Salesforce Administrators. You see, Aura components are way simpler to create then Lightning Web Components. Yes, they do still require the developer to know a little about HTML and JavaScript, but since the introduction of Lightning components back in 2014, they have gotten a lot simpler to work with. So, as long as the Admin is seasoned and may even consider themselves as a Super Admin, then I think they too can embrace creating Aura components.
Salesforce Super Admins
Where Can Aura Components Be Used?
Lightning pages
This includes App pages, Home and Record Pages, and even a new Embedded Service Page. The embedded service page will not be covered in this course, but the app and home pages will.
Wizard from Lightning App Builder
salesforce mobile app
In late 2019, Salesforce launched a new and completely redesigned Salesforce Mobile App. You can learn more about it by visiting the New Salesforce Mobile App Quickstart in Setup. This will be covered in the final module on “Creating Components for Salesforce Mobile”.
Access the New Salesforce Mobile App QuickStart from Setup
Other places
These other areas are beyond the scope of this course, but just so you are aware, there is also:
Quick Actions
Stand-alone apps
Inside Visualforce pages
On other platforms such as Heroku, using Lightning Out
Anatomy of an Aura Component Bundle
An Aura component can be made up of several physical files that reside in what is known as a component bundle. Even though there are 8 files that can make up a component bundle, most simple components will only need to access a couple:
Component or Markup file – Uses a .cmp file extension and is a required file and there can only be one per bundle. All markup must be encased in an <aura:component> tag and can include references to other components.
Controller or JavaScript file – Uses a .js file extension and will contain all the client-side methods needed to handle events in your component.
Creating an Aura Component Bundle
The easiest way to create an Aura component is using the online Developer Console. This will be covered only once in this first module. The rest of the course will cover creating bundles using the new modern toolsets.
You can access the Developer Console by logging into a Developer org, click the gear icon and select Developer Console.
Access the online Developer Console
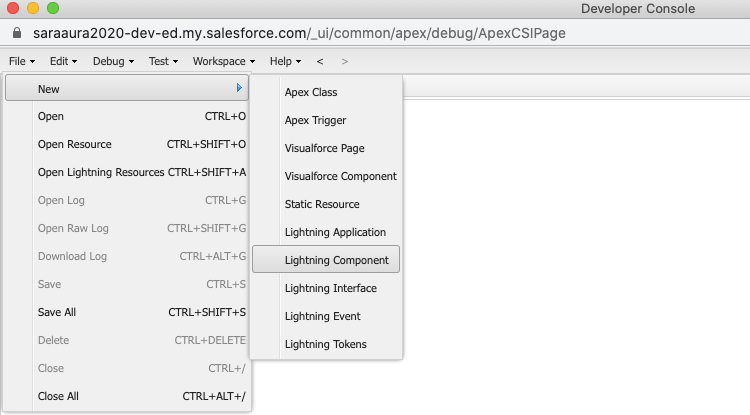
This will launch a new window and from here, you can go to File -> New -> Lightning Component.
Create a new Lightning Component in Developer Console
The initial component I will show viewers how to build is very simple and will be used by Salespeople to update their cell number. From the New Lightning Bundle dialog, you only need to enter the name “updateCellNumber” and select the Lightning Tab and Lightning Page checkboxes in Component Configuration. And finally click Submit.
Create new Lightning Bundle in Developer Console
The component markup will be very simple to begin with and will include 3 Lightning Base Components. as the course progresses, this component, along with others will be expanded upon.


 in Salesforce and clicking Developer Console. This brings up a new window. From the Query tab, you can type in your query using the ID’s gathered in the first two steps. Click Execute to run the query.